
Acid-Tabs > Acid Tabs Help Guide > TB-303/03 Pattern Templates Help > TB-303 Prefill Pattern Template Help
Pattern Templates Explained
If you have not read the introduction and about sections, please head over and read the "Acid Tabs Help Guide" page first 🙂TB-303 Prefill Pattern Template Generator
The TB-303 Prefill Pattern Template is similar to the TB-303 Blank Pattern Template generator but allows more personalization of the available settings.The "Prefill" version is ideal if you already have a pattern and want a completely filled in template printed out.
This differs greatly over the TB-303 Blank Pattern Template, which generates and allows you to print a blank template for adding pattern data, post printing.
TB-303 Prefill Pattern Template allows you to add notes, timing, octave, accents and slides, of each step of your pattern, to a maximum of 16 steps (1 bar).
You can also enter the BPM / Tempo, give your pattern a name, and any additional notes regarding your pattern.
When you have finished entering all your data for the pattern, you can then choose to print out a Vertical Pattern Template or a Horizontal Pattern Template.
Let's have a closer look!
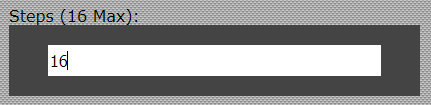
- Step 1. Steps. Enter the amount of steps required for your blank template. (Default and Maximum is 16)
- Step 2. Pattern Name. Here you can enter a name for your pattern.
This is not required and can be left blank, Additionally, You can write it in with pen, post printing.
Regardless of the final print orientation, the Pattern Name will appear at the top of the final printable pattern template.

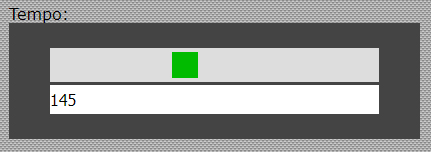
- Step 3. Tempo. Use the slider to adjust the tempo to the right setting for your pattern, or enter the numeric value in the text field below the slider.
If you scroll down the page, you will see this also adjusts the Tempo / BPM value in the provided example table.
- Step 4. Waveform. This toggle switch allows you to choose between waveforms, "Sawtooth" and "Square", for your pattern.
Scroll down the page to see the selected Waveform in the example table provided.
If "Hide Waveforms Bar" is set to "Yes", this will not be visible in the example table or the final printable pattern template.

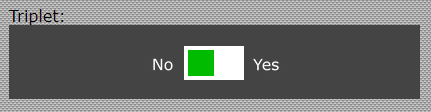
- Step 5. Triplet. This toggle switch allows you to state if your pattern is a triplet or not.
Select either "Yes" or "No", for your pattern.
Scroll down the page to see the selected Triplet state in the example table provided.
If "Hide Triplet Bar" is set to "Yes", this will not be visible in the example table or the final printable pattern template.
- Step 6. Hide Table Key. Choose either "Yes" or "No" to show or hide the pattern table key in the final printable template.
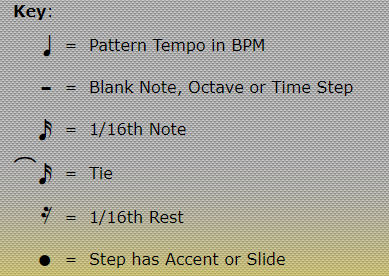
The table key appears at the very bottom of the pattern template and gives you a guide of all the symbols used and their meanings.
If you are fully comfortable with all the symbols and their meanings, then toggle to "Yes" to "Hide Table Key".
Hiding this may help reduce the overall height of the printing area, while saving some printer ink.

Table Key example:
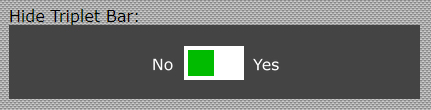
- Step 7. Hide Triplet Bar. Choose either "Yes" or "No" to show or hide the Triplet Bar in the final printable template.
The Triplet Bar, on the final printable template, will have the selected option "Yes" or "No", chosen at Step 5, via the Triplet switch.
If you have no desire in creating triplet patterns, choose and select "Yes" to "Hide Triplet Bar".
In so doing, reduces the height of the final pattern table by 1 row and saves a little on ink.
- Step 8. Hide Waveforms Bar. Choose either "Yes" or "No" to show or hide the Waveforms Bar in the final printable template.
The Waveforms Bar, on the final printable template, will have the selected option "Sawtooth" or "Square", chosen at Step 4, via the Waveform switch.
If you are not too bothered about having this being displayed on your final template, choose "Yes" to "Hide Waveforms Bar".
Doing so, will reduce the final height of your pattern table by 1 row and save some ink.

- Step 9. Hide Pattern Notes. Choose either "Yes" or "No" to show or hide the Notes section in the final printable template.
The Notes section, allows you to add any additional information that may pertain to your pattern (See Step 10).
Scroll down the page to see how this switch affects the example table provided.
If you have no need for adding additional notes, choose "Yes" to "Hide Pattern Notes".
Doing so, will reduce the final height of your pattern table by at least 1 row.

- Step 10. Pattern Notes. Use this text area to enter any additional information relating to your pattern.
While entering your data, scroll down the page a little to see how it affects the "Notes" section in the example table provided.
If "Hide Pattern Notes" (Set in Step 9) is set to "Yes" then there is no need to enter anything here, as it will not be visible in the example table or the final printable pattern template.
Depending on the final template orientation selected (Vertical or Horizontal), adding too much information here may push the final table height across 2 pages.

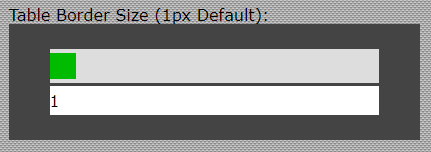
- Step 7. Table Border Size (1px Default). Use the slider, to adjust the border size of the final template, or enter a numeric value between 1 and 5, in the text field below the slider.
While adjusting this setting, scroll down the page a little to see how it affects the example table provided.
- Step 8. Update (Update To Confirm Pattern Template Changes). The "Update" button is one of the most important buttons on the page.
When making changes to any of the settings for the template, press the "Update" button to ensure all the settings are put forward ready for the final stage - the choosing of the final print orientation, Vertical or Horizontal (See next step).
You should notice that whenever a change is made, the green buttons, "Print Vertical" and "Print Horizontal", disappear.
They will only reappear once the "Update" button is pressed.

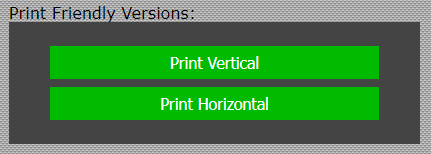
- Step 9. Print Friendly Versions. This is where the magic happens! Under the section "Print Friendly Versions", you will notice the 2 green buttons, "Print Vertical" and "Print Horizontal".
From here, pressing either one of these will generate the final pattern template for printing.
If you click "Print Vertical" and then change your mind, press your browsers "back" button.
At this point, you will see a "Document Expired" notice.
Refresh the page or, depending on your browser, select "Try Again" and then choose to "Resend" the information.
If this is not done, all chosen settings will be reset.
As mentioned in Step 8, if you make any changes to the template settings, the "Print Vertical" and "Print Horizontal" buttons will disappear.
Clicking the "Update" button ensures all changes are set, while revealing the "Print Vertical" and "Print Horizontal" buttons once more.
- Step 10. Note. Use this Note dropdown menu to select the given Note for each Step of your pattern.
If there is no note data for a chosen Step, select the hyphen,"-", just below "Note" on the dropdown menu.
In the example image below, you can see that Note C is being selected at Step 1.

- Step 11. Octave. Use this Octave dropdown menu to select the given Octave for each Step of your pattern.
If there is no octave data for a chosen Step, select the hyphen,"-", just below "Octave" on the dropdown menu.
In the example image below, you can see that Octave +2 is being selected at Step 1.

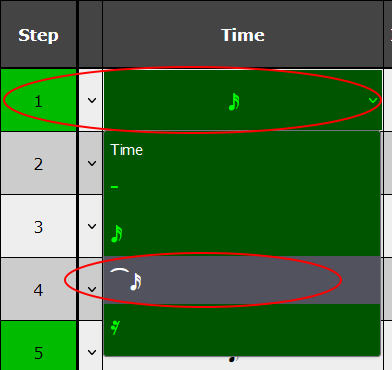
- Step 12. Time. Use this Time dropdown menu to select the given Time value for each Step of your pattern.
If there is no time data for a chosen Step, select the hyphen,"-", just below "Time" on the dropdown menu.
In the example image below, you can see that a "Tie" (indicated by its notational value) is being selected at Step 1.
- Step 13. Accent. Use the "Accent" check box to highlight that a step note has an Accent.
Leave unchecked if no Accent is present on the note at a particular Step.
In the example image below, you can see that an "Accent" (indicated by a white tick in a green box) has been placed at Step 1.

- Step 14. Slide. Use the Slide check box to highlight that a step note has a Slide.
Leave unchecked if no Slide is present on the note at a particular Step.
In the example image below, you can see that a "Slide" (indicated by a white tick in a green box) has been placed at Step 2.


Acid 𝄢 Tabs by EzRecordings.com © Copyright 2026